Key Takeaway
To clean grout and keep it looking new, scrub with a pH-neutral or alkaline cleaner and a nylon grout brush, then extract the dirty rinse water completely rather than pushing it around. Most standard grout is cement-based and porous, so avoid routine use of vinegar or lemon juice, which weaken the material over time. Seal cementitious grout after deep cleaning and use the water-drop test every six to eighteen months to know when to reapply.
To clean grout safely, reach for a pH-neutral or alkaline tile-and-grout cleaner, a nylon grout brush, plenty of clean-water rinsing, and a dry towel to finish. Skip the routine vinegar and lemon: cement-based grout is porous and can be weakened by acids over time. This works for dingy grout anywhere you find it, whether it’s a shower wall, a kitchen backsplash, a bathroom floor, or a hardworking tile entry. For light everyday maintenance, a simple baking soda and water paste does the job without harsh chemicals. Keep a spray bottle of your chosen cleaner handy so a quick pass on the grout lines becomes part of your routine instead of a chore you dread.
The way a tile craftsman thinks about it is straightforward: protect the tile and grout first, then restore the look. Cleaning that damages the material or strips the sealer just means the grout gets dirty faster next time. Do it right and your tile stays elegant and easy to care for for years.
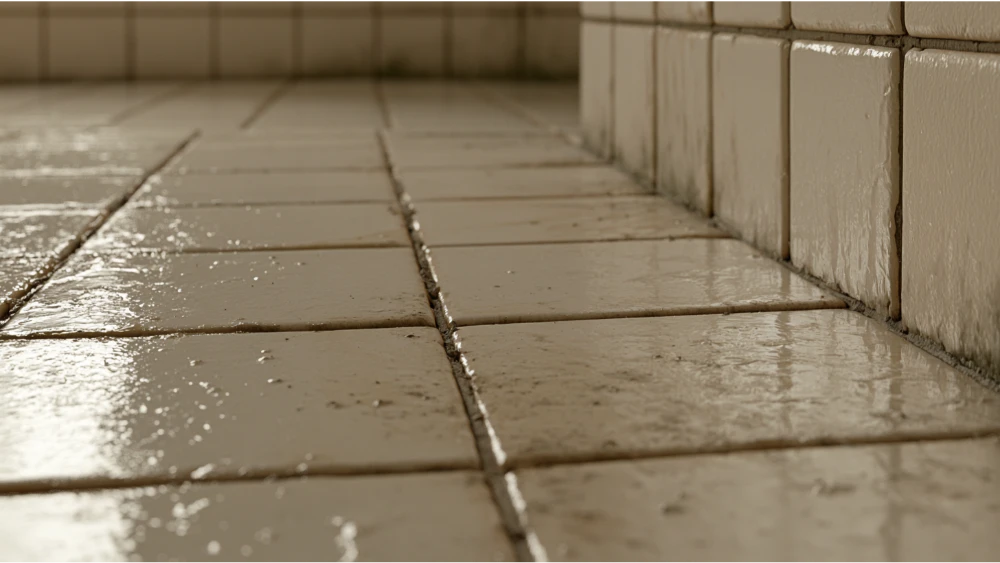
Grout gets dirty because most of it is porous. Standard cementitious grout is a cement-based material full of tiny openings that soak up water, dirt, and anything dissolved in them. Epoxy grout is a different story: it’s far more stain-resistant and doesn’t absorb the way cement grout does. If you’re not sure which you have, assume cementitious, since it’s by far the most common in homes.
Once you know grout is absorbent, the usual culprits make sense. In a shower, soap scum and body oils build a film across the grout lines. In a kitchen, airborne grease settles onto the backsplash and the floor grout near the stove. On tile floors, foot traffic grinds in dirt, and mopping with dirty water pushes that grime right into the porous surface instead of removing it. Hard-water minerals leave a chalky white or gray haze. And in damp corners, mildew takes hold and darkens the lines. A bathroom sees all of these at once, which is why grout there tends to go dingy the fastest, especially around a toilet where splashes and dust collect.
Wiping up spills as soon as they happen keeps them from soaking in and staining. Unsealed grout is the most vulnerable of all, because moisture and organic matter can settle in and even encourage growth beneath the tile surface. That’s the whole reason cleaner choice and sealing matter so much later on. It also explains why a quick sweep to pick up loose dirt and debris before it embeds pays off more than any single deep clean.
A minute of identification saves you from bleaching out grout color or etching a stone tile. Check these before you pick a cleaner.
A good sealer keeps water from penetrating, which is exactly what makes grout easier to clean and maintain. Matching your method to the surface protects both the grout color and the finish on your tile. If your grout was recently coated with a grout colorant or refresh paint, treat it gently as well, since aggressive scrubbing can strip that top layer and expose the raw grout underneath.
A short “do not use” list will save you from the mistakes that make grout look worse over time.
The theme behind all of these: anything that strips, etches, or leaves residue behind sets you up for faster re-soiling.
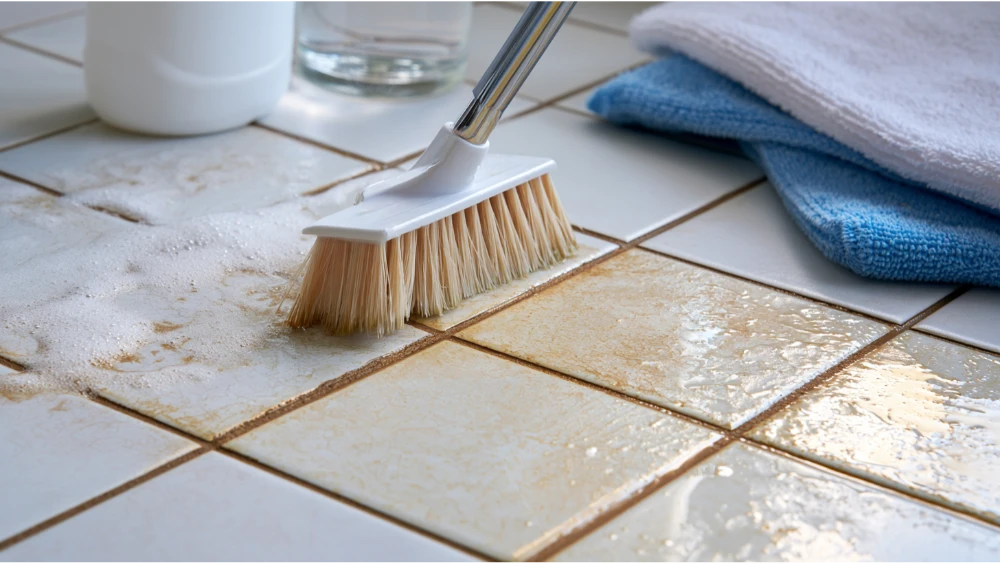
Here’s the safe, effective sequence for a real deep clean of your tile and grout. The step most guides skip is number six, and it makes a bigger difference than any product you buy.
The goal is to extract the soil, not smear it. Between deep cleanings, regular sweeping and mopping with clean water keeps grout lines from getting to the bad spots in the first place. A quick weekly spray-and-wipe on high-use tile surfaces means you rarely have to reach for the heavy scrubbing at all. The same routine keeps all the tile in a room looking consistent instead of letting one neglected corner go dark.
Different messes call for different approaches, and there are several products worth keeping on hand. Use this quick reference to pick the right one.
| Problem | What to use | Notes |
|---|---|---|
| Light everyday dirt | pH-neutral cleaner or baking soda and water paste | Gentle and safe for routine cleaning. |
| Kitchen grease | Alkaline degreaser | Cuts oily film that neutral cleaners leave behind. |
| Shower soap scum | Alkaline tile-and-grout cleaner | Rinse well so no residue remains. |
| Pink or orange film | Detergent and water scrub | Usually surface bacteria; keep the area dry afterward. |
| Mildew | Detergent and water, then dry completely | Oxygen bleach helps with dark staining left behind. |
| White mineral residue | Specialty tile cleaner made for hard-water buildup | Watch acid content on cement grout; test first. |
| Deep, set-in stains | Oxygen bleach or color-safe oxygenated cleaner | Step up to steam only if needed and the sealer allows. |
A few notes that matter. Oxygen bleach (the powdered, oxygenated kind) is your friend for restoring grout’s original color, because color-safe oxygenated cleaners break down stains without the harshness of chlorine bleach. For light mildew on hard surfaces, the EPA notes you can scrub it with detergent and water, then dry it thoroughly. Drying is not optional here: mildew comes back wherever moisture lingers.
A paste of baking soda and hydrogen peroxide also lifts many grout stains, though you should always spot-test it on colored grout first. For stained grout that has resisted everything else, a color-safe oxygenated soak left to dwell for ten or fifteen minutes before you scrub often does what a rushed pass cannot. This is a good example of letting the product do the work so you save your energy for the truly stubborn spots.
A steam cleaner can be a genuinely useful tool for grout cleaning, especially in a bathroom where soap scum and mildew collect. The hot steam softens buildup and lets it release from the porous surface with far less scrubbing, and it does so without adding chemicals to the mix. Direct the steam along the grout lines, let it work for a moment, then wipe the loosened soil away with a clean cloth. Just confirm your tile surface and sealer can handle the heat first, and avoid prolonged steam on delicate natural stone. On sealed cementitious grout, occasional steam is fine, but constant high-heat cleaning can shorten the life of a topical sealer over time.
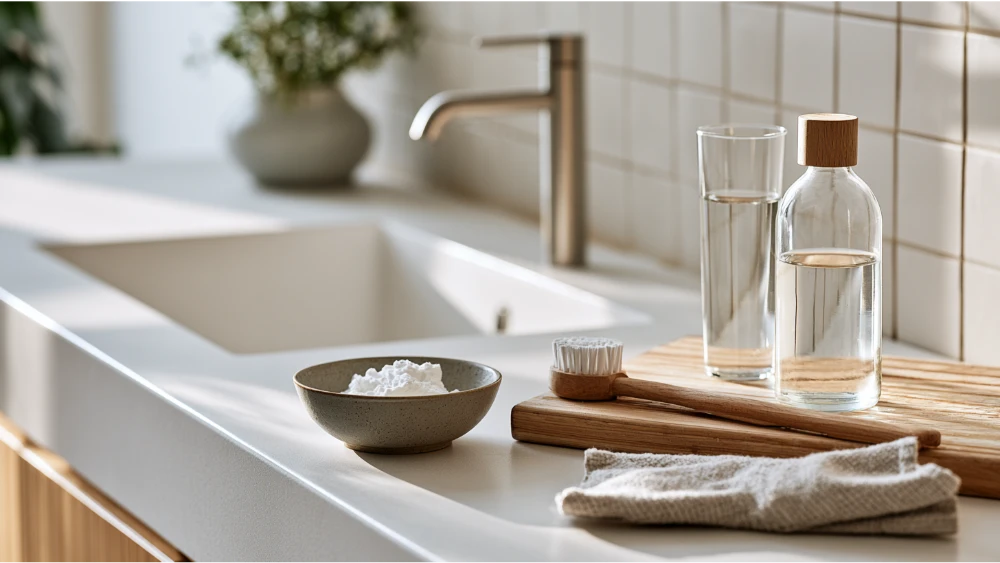
Some do, and some are overhyped. Here’s the honest breakdown.
What genuinely works: A baking soda and water paste is a fine mild cleaner for light grime. For tougher stains, hydrogen peroxide, or a paste of baking soda and peroxide, breaks down discoloration well. Dish soap makes a solid gentle everyday cleaner; mixed with warm water in a spray bottle, it handles most routine grout cleaning without any fuss. Spot-test any of these on colored grout before committing.
What to be careful with: Vinegar and lemon can clean, and you’ll see them in plenty of DIY recipes, but they shouldn’t be your routine choice on cement-based grout because the acid weakens it over time.
The rule that isn’t optional: Never mix cleaning products together. Combining bleach with anything else, including vinegar or ammonia, can create toxic fumes. If a homemade mix calls for stacking chemicals, don’t do it. And remember that harsh or oily concoctions can leave a sticky film that pulls in dirt, undoing your work.
Clean grout is only half the job. Keeping it that way comes down to controlling moisture and sealing when needed.
Start with simple habits. Squeegee or towel down shower walls after use so water doesn’t sit on the grout. Run the exhaust fan or crack a window to move humid air out. The EPA recommends keeping indoor humidity below 60 percent, ideally in the 30 to 50 percent range, and drying any wet or damp area within 24 to 48 hours to keep mold from taking hold. After any cleaning, rinse away every trace of cleaner residue, and mop with clean water and a microfiber cloth rather than a grimy mop. A light weekly spray with a pH-neutral cleaner keeps loose dirt from ever building into the kind of film that needs real effort to remove.
Then there’s sealing, which is where cementitious grout stays protected. Epoxy grout usually doesn’t need it.
Seal after a deep clean, once the grout is fully dry. Rather than following a rigid calendar, use the water-drop test: put a few drops of water on the grout. If it soaks in quickly, it’s time to reseal. If it beads or absorbs slowly, you’re still protected. Reapplication typically lands somewhere in the six-to-eighteen-month range depending on traffic and wear from how often you clean, but the droplet test tells the real story.
For heavily soiled grout in high-use areas, periodic professional cleaning (roughly every six to twelve months) can reset lines that home methods can’t fully recover, using hot-water extraction or low-moisture encapsulation. The payoff for all of this is grout that stays elegant and easy to maintain, instead of something you fight with every few weeks.
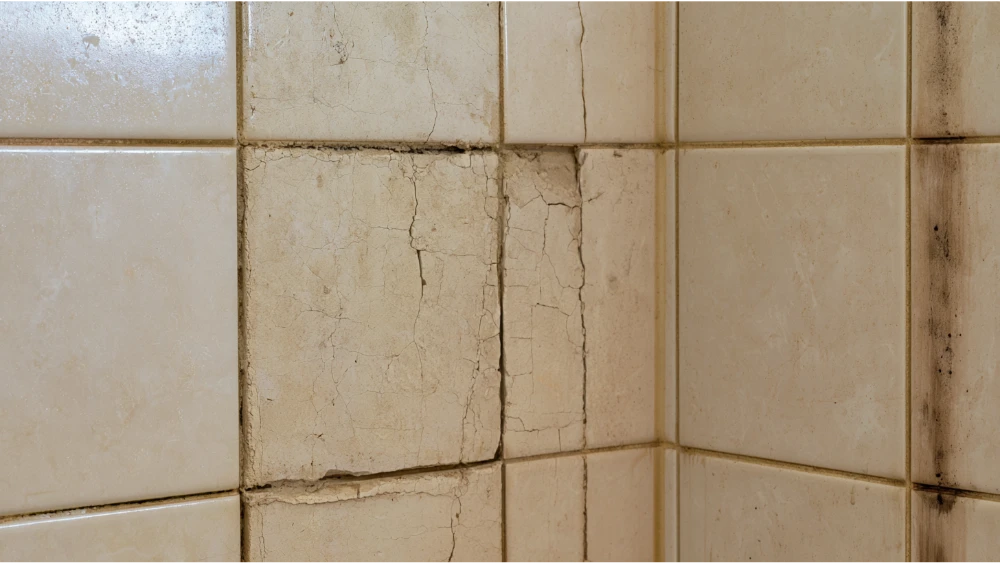
Sometimes no amount of scrubbing will fix the real problem, and pushing harder just wastes effort. Watch for these signs.
Here’s the point most cleaning guides miss: grout joints are not waterproof. A shower tile installation stays dry because of the waterproofing behind the tile, not the grout on the surface. So when problems keep coming back, it can signal an issue with the tile assembly or moisture behind the wall, not just dirty grout. That’s the moment to bring in someone who works on the whole system rather than repeatedly scrubbing a symptom. At that stage, re doing the grout entirely, rather than replacing only the surface layer of color, is often the more lasting fix.
Sacramento’s water runs moderately hard. The City of Sacramento’s 2025 report lists a system average around 83 mg/L (about 4.9 grains per gallon), and the USGS classifies 61 to 120 mg/L as moderately hard. That means local showers and bathroom tile can pick up mineral spotting and soap-scum buildup a little faster than in soft-water areas. Squeegeeing the walls and drying tile after each shower goes a long way toward keeping grout clean between deeper cleanings, and a quick spray of a hard-water tile cleaner once a week keeps the chalky haze from settling in. (Water figures update annually, so it’s worth checking the latest Consumer Confidence Report.)
If cleaning has stopped keeping up, or you’re ready to turn a dated bathroom into a tranquil retreat, refresh a shower, or update a kitchen backsplash, tile floors, or even the wood floors’ tiled transition, that’s where our team comes in. Whether the tile meets sand-set stone or a modern porcelain, we handle it. At Vasko Tile, we’ve spent 15+ years installing ceramic, stone, and glass tile across the Greater Sacramento Area, with each tile expertly laid for durability and lasting elegance. We’ll listen to what you want and give you a clear, competitive quote before any work begins.
Reach out for a complimentary consultation by phone at (916) 205-5112 or email vaskotileco@gmail.com. Contact us to get a quote on your project, and we’ll respond within 24 hours.