Key Takeaway
Thinset mortar is a cement-based adhesive blend of Portland cement, fine sand, and water-retention compounds that bonds tile permanently to a prepared substrate. It is not the same as grout, which fills joints, and it is not a waterproofing layer. ANSI standards require at least 80% mortar coverage in dry areas and 95% in wet areas and under natural stone. The right type, modified or unmodified, depends on your tile, substrate, and any membrane in the assembly.
Thin set mortar is the cement-based bonding layer that holds tile to a prepared surface. It’s a blend of cement, fine sand, and a water-retention compound, spread across the substrate and combed into ridges so each tile presses into full contact. You’ll never see it once the tile is set, but the right mortar, enough thinset, and careful technique are what keep a tile surface solid, even, and built to last. If you’re planning a shower, bath, kitchen, or floor and want to understand what’s happening beneath the surface before you hire anyone, this is where the real work of tile installation lives.
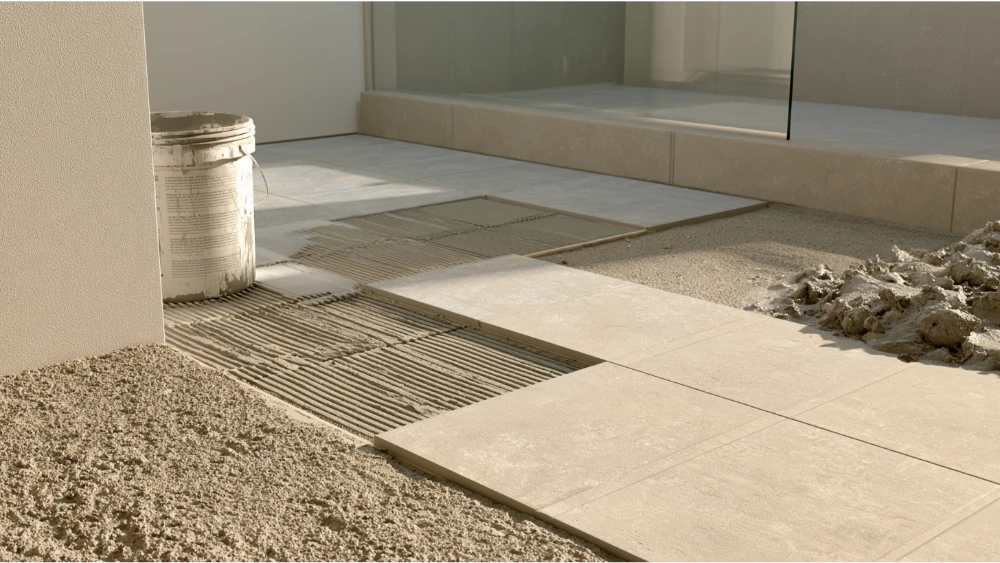
Most homeowners pick tile by color, shape, and pattern. That’s the part you see. But whether that tile still looks flawless in ten years comes down to the layer nobody notices. Thin set is the hidden craftsmanship layer, and it does more than glue tile down.
Applied correctly, this adhesive bonds each tile to the substrate and helps spread weight across the surface, so foot traffic and heavy loads don’t concentrate on a single spot and crack a tile. It fills the minor imperfections behind the tile for a uniform, supported set, which is why a well-installed floor feels solid underfoot with no hollow give, and why a shower wall holds firm year after year. A beautiful tile is only as durable as the bond beneath it. This is the point where careful installation turns into lasting results.
Thinset mortar is a simple mix with a specific job. The Tile Council of North America (TCNA) describes it as a blend of Portland cement, very fine sand, and a water-retention compound that lets the cement properly hydrate. That last ingredient matters more than it sounds. Water retention agents keep enough moisture in the mix for the cement to cure through a chemical reaction rather than simply drying out.
That’s the key difference from a glue that hardens as water evaporates. Thin set mortar gains its strength as the cement reacts and hardens over time, forming a strong bond between the tile and whatever it’s set on. It’s also thinner than traditional thick-bed mortars, which is what makes it workable in a thin, even layer. You may see this powdered mix called by several names on a product bag. “Thin set,” “dry set mortar,” and “drybond mortar” all describe the same category of cement-based tile adhesive.
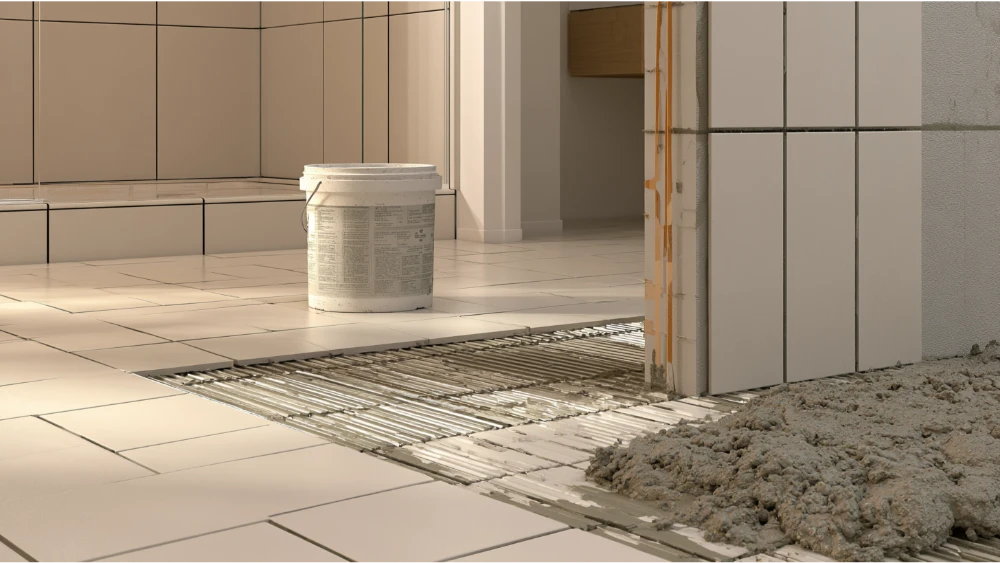
These terms get used interchangeably, but they do different jobs. Here’s the short version:
So when someone asks whether thin set is the same as grout or mortar, the honest answer is: thin set and grout are two separate layers doing two separate jobs, and thin set is a specialized kind of mortar. Each has a right place, and using the wrong one in the wrong spot is a common way tile jobs go sideways. Grout also comes in its own varieties, and the grout you choose affects both the look and the maintenance of the finished surface.
Modified thinset contains additional polymers that improve bonding strength and give the mortar more flexibility, so it resists cracking when a substrate moves slightly. TCNA notes the original modifiers were latex-based, while many polymer additives used today are acrylics or other chemistries such as EVA, PVA, and SBR. For a lot of standard installations, a quality modified thin set is a dependable choice, whether you’re setting porcelain tiles on a floor or glass tile on a wall.
Unmodified thinset, also called dry set mortar, relies on the cement, sand, and water retention agents alone. It hasn’t been replaced. In fact, it’s often the correct choice against certain uncoupling membranes and waterproof membranes, where the impervious surface won’t let a polymer-modified mortar dry the way it needs to. Against those membranes, unmodified thinset cures properly because it hydrates from the cement reaction rather than needing to release moisture into the surface behind it.
The takeaway isn’t a universal rule. The appropriate type depends on the tile, the substrate, any membrane in the assembly, and the mortar manufacturer’s installation guidelines. A skilled installer reads all four before opening a bag. This is one reason it pays to work with tile installers who understand what they’re setting on, not just what they’re setting.
Professional tile installation isn’t guesswork. Tile installers work to standards published by ANSI and TCNA, with hands-on training backed by the Ceramic Tile Education Foundation (CTEF). The current broad publication, ANSI A108/A118/A136.1:2024, covers both how tile is installed and how the setting materials are specified.
On a mortar bag, the labels professionals look for reference those material specs: A118.1 for dry-set cement mortar, A118.4 for modified dry-set, A118.11 for EGP (exterior glue plywood) modified mortar, and A118.15 for improved modified dry-set mortar. You don’t need to memorize any of that. You deserve an installer who does, and who chooses the mortar that matches your project instead of grabbing whatever’s on hand.
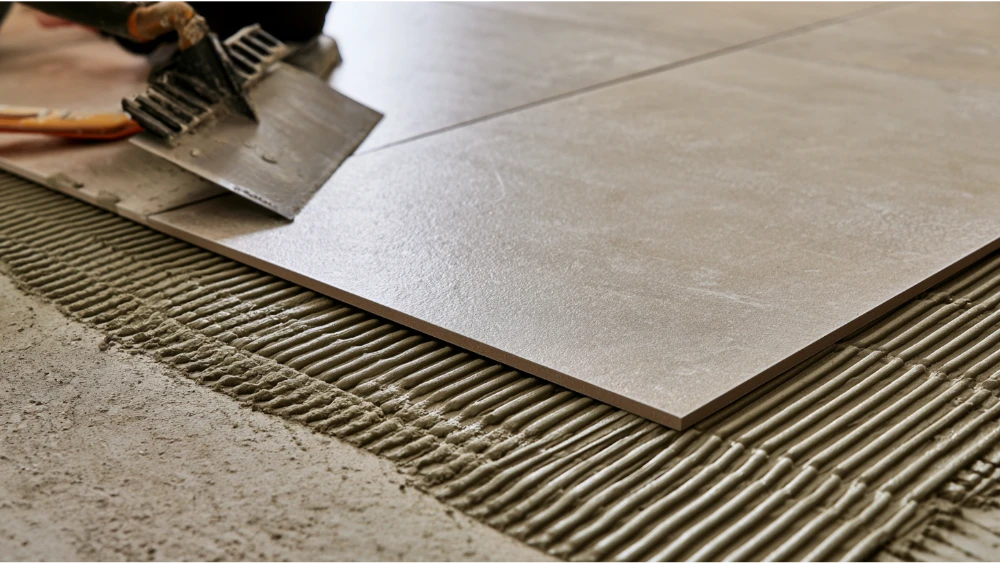
Standard thin-bed thin set is meant to be, well, thin. Per TCNA, the mortar bed is typically used at a thickness not greater than 3/16 inch, and a 3/8-inch notched trowel produces roughly that 3/16 inch of coating once the tile is pressed in. CTEF puts the general working range after the tile is embedded at a minimum of 3/32 inch to a maximum of about 1/4 inch, depending on the manufacturer.
Large format and heavy tile calls for a different formula. Large and Heavy Tile (LHT) mortars can allow up to 1/2 inch of thickness after embedding, which helps support big, weighty pieces.
One thing thin set is not built to do is fix a bad surface. TCNA is clear that thin set isn’t appropriate for correcting levelness or flatness. Tile follows the plane of whatever’s underneath it, so an unlevel floor gets a good, careful installer to prep the substrate first, not to trowel on extra mortar to hide the dip.
If there’s one number worth knowing, it’s proper mortar coverage. This is the percentage of the tile’s back that’s actually in contact with mortar, and it’s one of the clearest signs of a job done right. CTEF cites the ANSI A108 requirements this way:
Showers and floors need more contact because they take on water and load. Thin or spotty coverage leaves voids behind the tile, and those voids lead to hollow-sounding tile, bond loss, and cracks down the road. Careful installers periodically lift a set tile to check the mortar transfer on the back, and they back-butter larger tiles so the entire underside makes full contact. It’s an extra step, and it’s exactly the kind of extra step that separates tile that looks set from tile that’s truly supported.
Good mortar work follows a rhythm. Here’s what a careful process looks like when a pro sets out to install tile, drawing on CTEF’s guidance:
For long plank or rectangular tile, CTEF recommends orienting the ridges toward the short side of the tile, so air has a shorter path out. Small details like the direction of the notched trowel don’t show up in the finished floor covering, but they make a big difference between each tile being expertly laid and merely stuck down.
Thin set mortar bonds well to varied substrates, including concrete and plywood, and once cured it holds up in humid environments without softening. That versatility is why it shows up in nearly every tiled space, on both floors and walls.
In a shower or master bath, it anchors tile against constant moisture, part of what makes a bathroom a tranquil retreat instead of a maintenance headache. In a guest bath, the same care keeps a smaller, hard-working space looking crisp. In the kitchen, thin set holds backsplash, counters, and floor tile through daily spills and traffic, and it’s the same mortar behind a mosaic tile backsplash and a porcelain floor alike. For full-room tile floors, it delivers that even, solid feel underfoot, and because cured thin set is heat- and fire-resistant, it works over radiant floor heating systems. In commercial and high-traffic settings, a proper bond is what lets a sophisticated tile surface stay sophisticated year after year. The right substrate matters too, which is why installers often recommend installing over cement board or hardie cement board rather than setting tile onto drywall in a wet area.
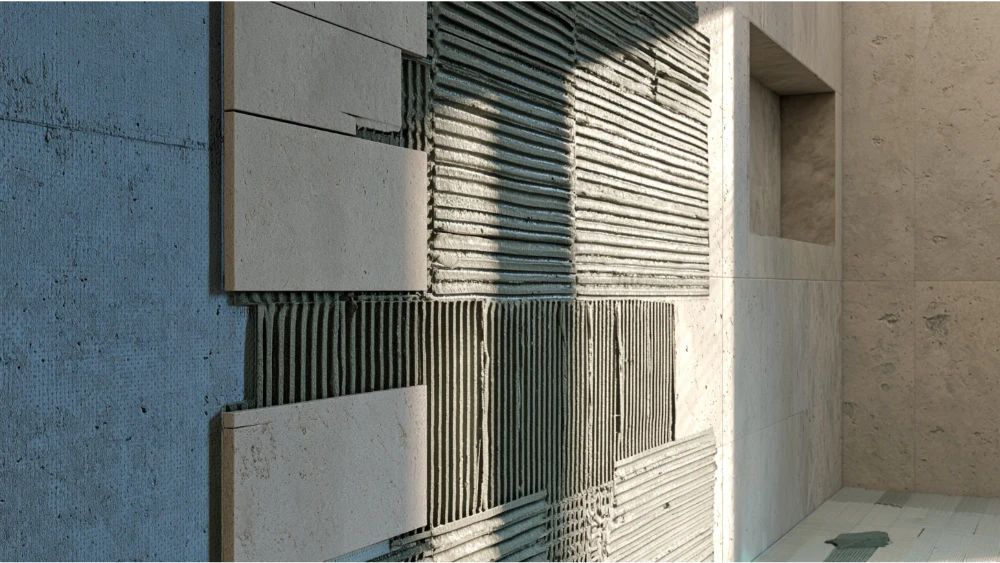
Not on its own, and this is where a lot of content gets it wrong. Cured thin set resists water and won’t soften in humid conditions, and a suitable mortar is one part of a wet-area tile assembly. But thin set is not the moisture barrier.
Real waterproofing in a shower or tub surround comes from the full assembly: an approved membrane (specified under ANSI A118.10) and the correct methods behind the tile. The mortar bonds the tile; the membrane and the way the shower is built keep water where it belongs. That’s why shower work rewards skilled tile installers who understand the whole system, not just the tile-setting step. Getting this wrong is invisible on day one and expensive a few years later.
There’s no single answer, and anyone who gives you one is guessing. Open time, pot life, the drying process, and full cure all vary by product, temperature, humidity, substrate, and tile type. As an illustrative example, one large and heavy tile mortar data sheet from Mapei lists roughly 30 to 35 minutes of open time, about 4 hours of pot life, 8 to 16 hours before grouting walls, and 24 to 48 hours before grouting floors, while noting that actual times in the curing process depend on jobsite conditions. Those numbers are one product’s, not a universal rule. Because the mortar needs to pull moisture through the cement reaction, the dependable rule is always to follow the manufacturer’s instructions, and to hold off on the grouting stage until the thinset dries and cures enough to hold each tile firmly. Wiping the surface with a damp sponge during grout cleanup comes only after the tile itself is locked in.
Most tile failures trace back to a handful of avoidable errors. These common mistakes are the ones careful installers steer clear of:
Setting new tile straight onto drywall in a wet area, or tiling over existing tile without proper prep, is one of the more common shortcuts, and it’s one that shows up as loose tile and failing grout joints later.
The bond beneath your tile is where craftsmanship becomes durability. At Vasko Tile, we bring 15+ years of hands-on experience to every shower, bath, kitchen, floor, and commercial tile installation, with the kind of substrate prep, mortar selection, and coverage checks that keep a surface solid long after the job is done. Whether the tile is natural stone, porcelain, or glass, and whatever the tile sizes, the details behind the surface decide how well it holds up. For homeowners across the Greater Sacramento Area planning a bathroom, kitchen, or flooring project, we’re glad to talk through what your space needs.
Call (916) 205-5112 or reach us at vaskotileco@gmail.com to get a quote or schedule a complimentary consultation. Contact us by phone or through our online form, and we’ll follow up on your unique project.